Courses
Oct 20, 2024
Mastering the Belly Position in Skydiving and Wind Tunnel Training

Mastering the belly position: skydiving and wind tunnel training
The belly or box position is the first thing you will learn when starting skydiving or wind tunnel flying, and it is also the most important. It is a basis for everything you will then do in the air, so getting this right is crucial for keeping your body stable when doing freefall. At ten-thousand feet, every single detail matters — sounded easy enough. Here, I’m going to explain how you can nail this position in the wind tunnel or in actual skydive practice;
Belly (belly down): This is the traditional skydiving position with your body facing into the wind with your stomach toward the ground.
1. What does Belly or Box Position mean?
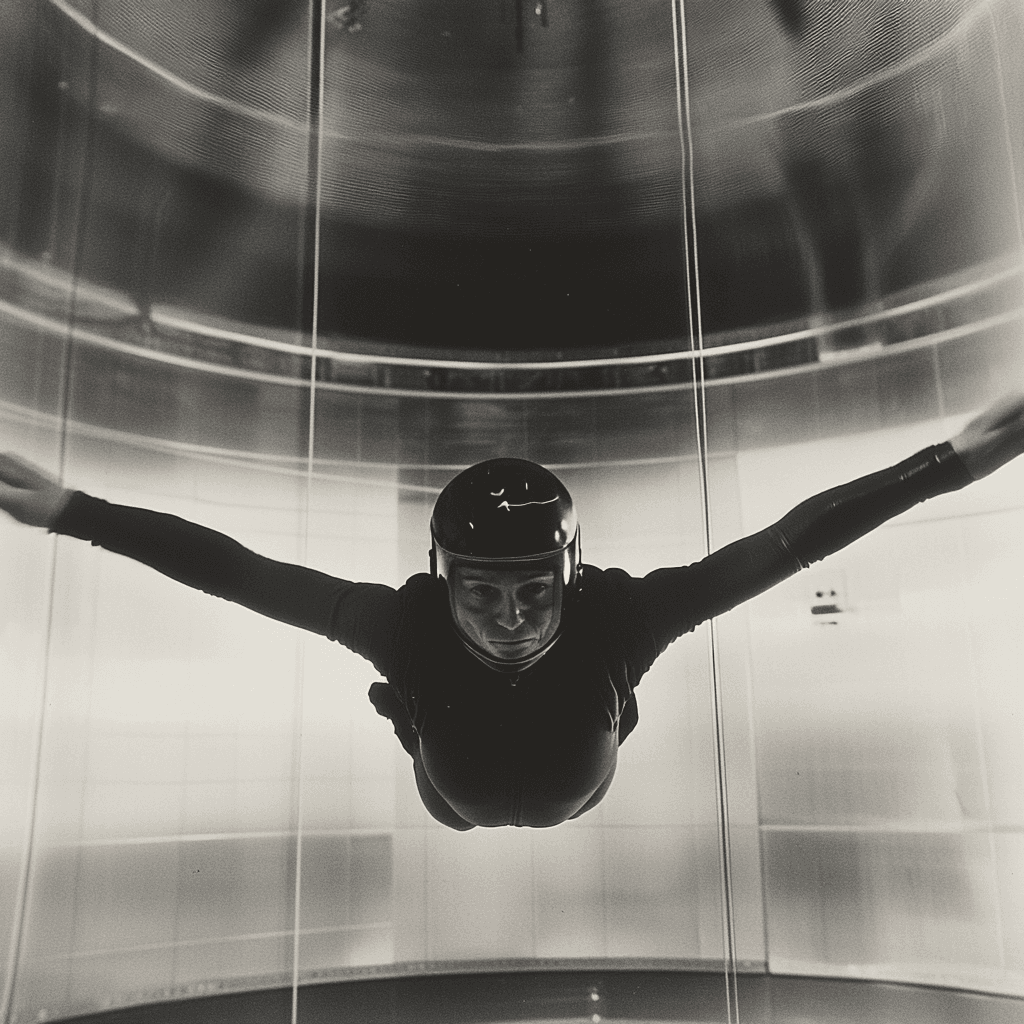
The classic (belly down) skydiving position is called "belly," where your body faces the wind directly, with your stomach facing down. Flying has maximum contact with the wind, making this position far more stable and natural Like, you turn your body into a sort of “box” or “arch,” with arms and legs angled out to catch the most airflow.
Arched Body: You should have a gentle backward curve in your torso, creating a rounded "U" shape. Your chest is coming forward and your hips are staying down.
Arms extended: You should have your arms out, elbows slightly bent and hands on eye line.
Legs spread apart: Rest your legs extended with feet shoulder-width apart, and heels up to "press" into the airstream.
2. Importance of your Belly Position
Here are some of the reasons why the belly position is considered the basis for skydiving and wind tunnel flying.
Maximum Stability in the Air: Because of wind resistance, body balances out.
Control: Being able to learn how to navigate from here gives you the control of your manoeuvres such as turning, forward or backward motion. It is one of those golden skills you must master before moving onto more difficult tricks.
Safety: In an emergency situation they can help a person to quickly regain an upright position or escape away from danger, preventing loss of control and fall.
3. Step-by-Step Technique to Learn the Belly Position
Here’s how to learn and perfect this position in skydiving:
a) Body Arch
The key to stability in the belly position is your body’s arch. Here’s how to get it right:
Chest forward: Imagine a string pulling your chest forward into the wind. You should push your chest against the wind, helping to form the correct curve.
Hips low: Keep your hips slightly low, ensuring you don’t lose stability. Raising them too high could make you lean forward and lose control.
Head up: Keep your head up and your eyes on the horizon. Avoid looking down, as this can negatively affect your stability and posture.
b) Arms and Hands
Arm positioning plays a crucial role in your stability and control:
Arm angle: Your arms should be extended at about a 90-degree angle, with slightly bent elbows. Your hands should be at eye level, but not so high that it causes tension.
Relaxed hands: Keep your hands relaxed, with fingers slightly extended. There’s no need for extreme tension; simply feeling the wind is enough to help you control your movements.
c) Legs and Feet
Proper leg placement is key for airflow control:
Legs apart: Spread your legs about shoulder-width apart. Too close together, and you’ll lose stability; too far apart, and you’ll create excess drag.
Feet pointing upward: Keep your heels pointing slightly upward, as if you’re pressing into the airflow with your feet. This technique helps you maintain control and adjust your speed during freefall.
4. Common Mistakes When Learning the Belly Position
Learning the belly position isn’t always easy, and there are some common mistakes that beginners often make. Here are a few and how to correct them:
Not enough arch: Without enough arch in your body, you may wobble or spin out of control. Make sure to push your chest forward and keep your hips low.
Tensing the arms: Many beginners tend to tense their arms, which reduces sensitivity to the wind. Relax your arms and let the air flow around them.
Legs too close or too far apart: Keep a neutral leg position—not too close together, not too far apart. Find the right balance to maximize stability.
5. Learning in the Wind Tunnel
The wind tunnel is an amazing tool for learning the belly position, as it allows you to feel the airflow without the pressure of being in real freefall.
Instant feedback: Tunnel instructors can give you immediate feedback on your position, helping you make quick corrections.
Faster progress: Since you don’t have to jump out of a plane, you can practice multiple times in one session, accelerating your learning.
Safe environment: The wind tunnel provides a controlled setting, so you can focus on perfecting your technique without worrying about altitude or parachute deployment.
6. Next Steps: Evolving from Belly
Once you’ve mastered the belly position, you’ll be ready to start experimenting with more advanced movements. But it all starts with a solid foundation. Whether you’re training for your first jumps in the air or practicing in the wind tunnel, the belly position will be your base of control and stability.
At Airflyer Academy, we specialize in helping you perfect this key position. Our instructors will guide you step by step until you feel completely comfortable and stable in the air. So, if you’re ready to take your training to the next level, get in touch with us and let’s get started!
Let's Fly Together
Get in touch now and book your session
